What is Portrait Mode?
The artificial bokeh (BOH-kay) effect created by smartphones is referred to as portrait mode.
Bokeh is a photography effect in which the subject of a photograph remains sharp while the backdrop blurs.
You may capture dynamic images that look more professional by using portrait mode to produce a bokeh effect.
In marketing materials, most smartphone makers refer to this effect as portrait mode.
Furthermore, most camera apps’ bokeh-creating mode is commonly referred to as “Portrait Mode” or just “Portrait.”
Portrait photography is the art of capturing your subject’s innate personality in a shot.
While that enigmatic definition covers the essentials, portrait photography entails much more than simply photographing individuals.
Great portrait photography is a result of combining the right technique with an artist’s expression.
Technique: Compositions, lighting, backdrops, poses, angles & using the correct camera settings.
Smart Phone Photography: How to Take Great Portraits With Your Phone
Focus on the subject
The foreground of your frame is automatically focused on today’s phone cameras, but not every image you snap on your phone has an obvious subject.
Open your camera app and tap the screen where you wish to sharpen the view to adjust where your camera lens will concentrate.

It can be tough for your camera to follow a moving subject and refocus as needed if you’re taking a photo of something in motion. Just before taking the picture, tap the screen to adjust the focus of your phone camera to ensure that the moving subject is in focus as much as possible. The focus of your photo should then be shifted to all of the stuff inside a square or circular icon that appears on your camera screen.
Background of the Image
A simple background, similar to a studio backdrop, draws all attention to your topic.
Find an empty side of a structure, a wall of foliage, or shoot into the sky to achieve this effect.
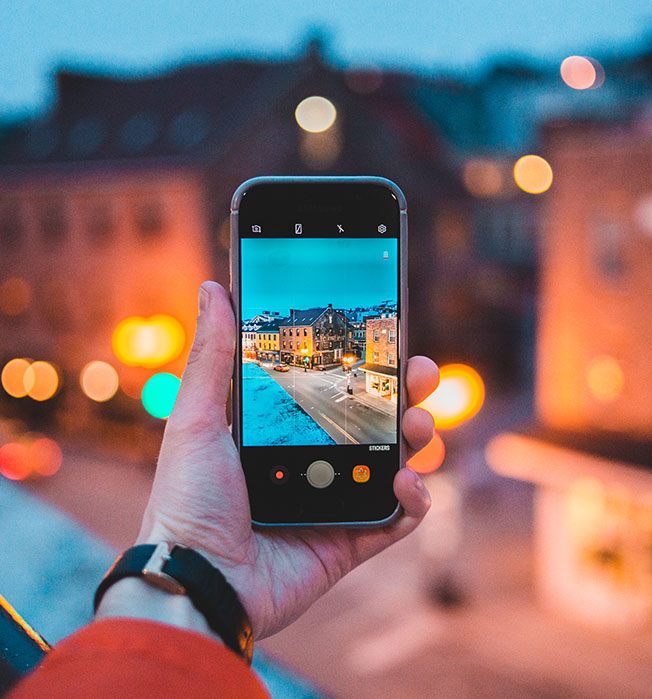
Look for elements in the background that will help your topic stand out more.
This can be accomplished by framing your subject (with foliage, in a doorway, or shooting through an object).
Look for leading lines that point to your subject as well (in a hallway, underneath a bridge, or in an alleyway).
Keep an eye out for lines and items that can create tension behind your subject’s head.
Switching to portrait mode reduces distractions around your subject (I’ve heard it said that instagram made people better photographers since they had to learn to shoot shots without blurring out the backdrop, which was previously impossible with a phone).
Lighting is also the Main Ingredient
Harsh overhead lighting (such as that provided by the midday sun) is unsuitable for portraiture because it casts unpleasant shadows on the face, beneath the eyes, and around the nose.
Imperfections on the face, such as pores and pimples, are also highlighted by harsh light.

Portraits look best in soft natural light.
On a cloudy day, you can get soft and balanced natural lighting.
Shoot closer to sunrise or dusk if the sun is out to produce a gentle glow behind your subject.
Alternatively, just look for some shade!
You can employ light and shadow as part of your composition or to add pattern and texture to your image when there is sunlight.
Slanted shadows from buildings, spotted light from a tree, or striped light coming through window blinds are all things to look for.
You can manipulate the light even on a foggy day by adjusting the direction the light hits your subject if they stand next to something that blocks the light.
Place your subject on the outskirts of a dark passageway or a densely forested area.
Composition : Different Perspectives
Squatting and shooting upward, or climbing high and shooting down, will modify your position.
If you’re in a crowded place with automobiles and people on the street level, shifting your position can help blur out distractions.
When you shoot from a different level, you could be amazed at how the image changes.
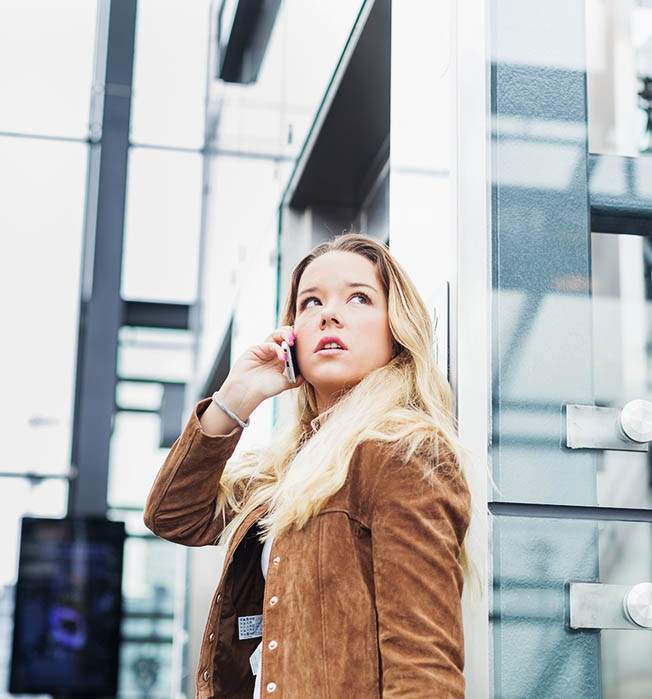
If you want to shoot from above but don’t have anything to help elevate you, try utilising a wide lens to extend your arm’s reach (like a chair or ladder).
Shooting down rather than up in close-ups is the most flattering for a face.
Wide Angle Lens : A Great Option
Portraits are traditionally shot with a short focus length (like an 85mm lens or a Moment Tele Lens).
Switch to a Wide Lens to test your skills.
A wide angle lens is commonly used by photojournalists and documentary photographers because it allows them to fit more into one frame, which adds layers to an image.
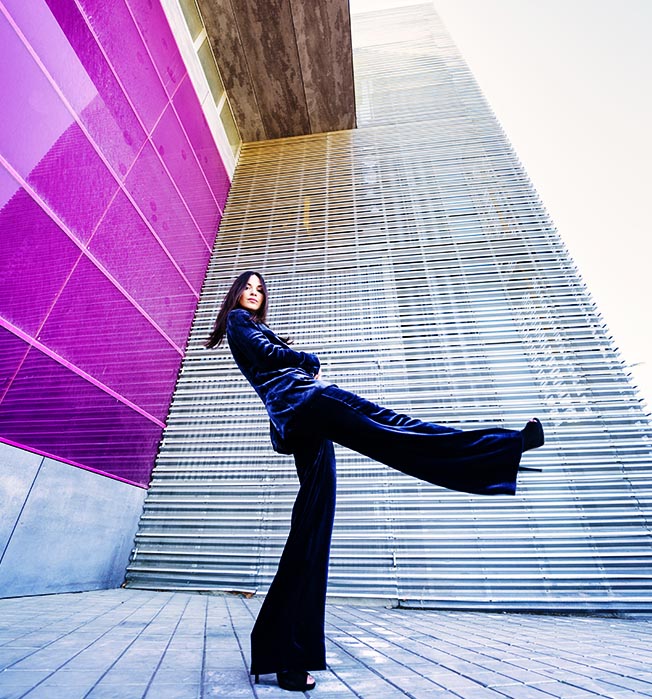
A close lens crops out the majority of the backdrop, but a wide lens challenges you to be aware of the background and choose your topic carefully.
This can result in a more complicated and fascinating composition.
The portrait can be made more dramatic by distorting the margins of the frame.
For an even more dramatic or whimsical appearance, use a Superfish Lens.
Candid Portraits
Happy times with friends, family, or the occasional run-in with a celebrity can all be captured in posed images.
However, candid photographs of people doing things or individuals with other people can sometimes be significantly more engaging.

This is because candid images are better at capturing the mood and soul of a situation.
Taking as many shots as possible is one of the greatest strategies to capture this type of photograph. You’ll have more options, and the best shots are often captured when all of the “stars align” in a single frame — everyone’s eyes are open, one person’s head is tilted just so, and you finally snagged a snap of your habitually closed-lip friend smiling with his teeth.
In-built Camera Filters
Filters aren’t only for being artsy; they may completely modify an image.
Monochrome images can be used to assist disguise a busy background with distracting colours or to draw attention to textures in a picture.
A similar look can be achieved with some colour filters.
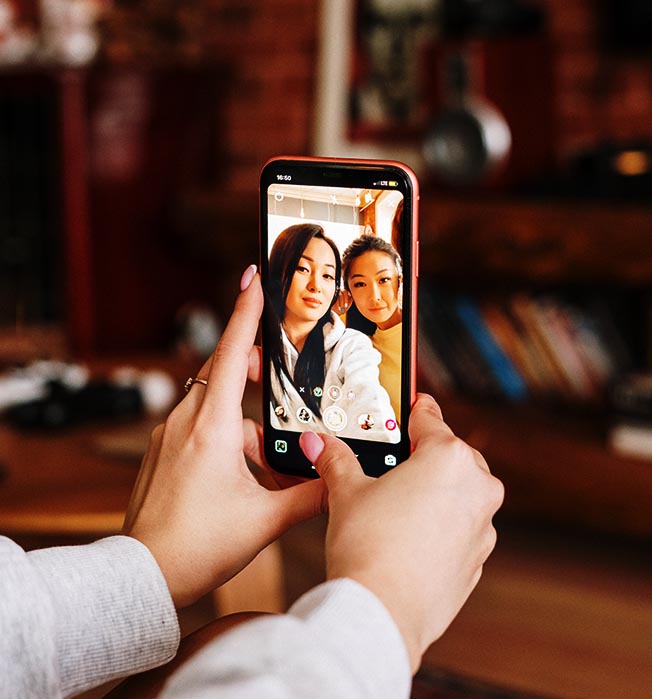
A small amount of grain can also make a big difference.
Because portrait mode blurs the background after capturing an image, the blurred area lacks any natural noise, making it appear even more fake.
Use Camera’s Grid-lines
Turning on the camera’s gridlines is one of the simplest and most effective techniques to improve your smartphone images.
The “rule of thirds” — a photographic composition theory that states that a picture should be divided down into thirds, both horizontally and vertically, for a total of nine components — is superimposed on the screen of your smartphone’s camera.

If you arrange points of interest in these intersections or along the lines, your shot will be more balanced, level, and allow viewers to interact with it more organically, according to this notion.
How to switch on the ‘gridlines’ on your phone?
Follow the instructions below:
iPhone Users : Go to “Settings,” choose “Photos & Camera,” and switch “Grid” on.
Samsung Users (Android) : Launch the camera app, go to “Settings,” scroll down and switch the “grid lines” option to “on.
Don’t Zoom on Smart Phones
It’s tempting to zoom in on anything specific you’re attempting to capture when taking a shot from a distance.
However, zooming in can make the image grainy, hazy, or pixelated, so it’s best to avoid it.

Instead, try to approach closer to your subject — unless it’s a wild animal, in which case you should retain your distance — or shoot from a normal distance and crop afterward.
You won’t lose quality this way, and it’ll be easier to experiment with and optimise a larger image.
Clean your Camera Lens
A smartphone camera may be easier to transport than a full-fledged photojournalist’s camera, but it comes at the expense of security.

When you’re out of the house, your phone is normally in your pocket or backpack.
The device’s camera lens is accumulating dust and lint at the same time.
Before snapping a picture, make sure to clean the lens with a soft napkin.
You might not realise how dirty your lens was until you start editing your photo, so ensuring sure it’s absolutely clear before you take an image will save you from having to start over.
Smart Phone Accessorizes
If you’re really serious about your smartphone photography, you might want to consider investing in some add-on lenses for your smartphone such as Moment’s or Olloclips. These will give you different fields of view you normally can’t get on a smartphone.
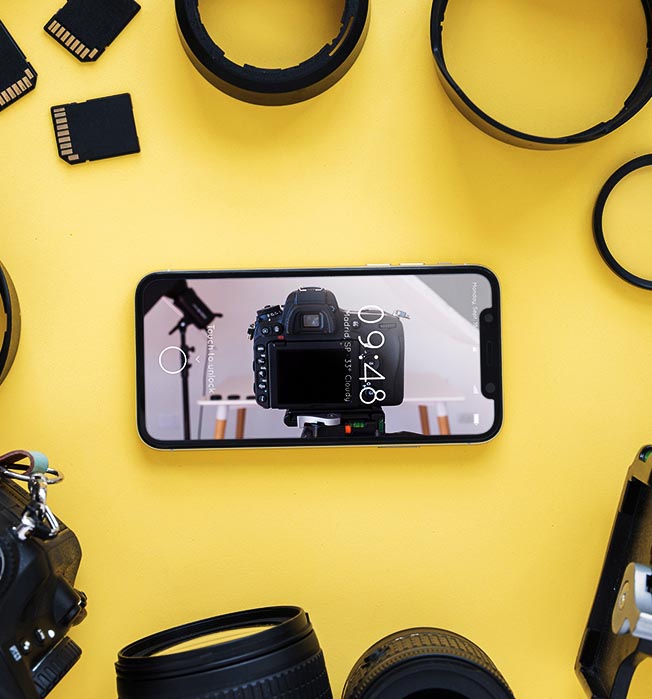
If you’re serious about your smartphone photography, you might want to consider investing in some smartphone add-on lenses like Moment’s or Olloclips.
These will provide you with alternative fields of vision that you wouldn’t ordinarily receive from a smartphone.
Cropping & Other Important Details

- Cropping the face of your subject creates a compelling photograph with a sense of mystery.
- You don’t have to care about the background when cropping (but lighting is even more crucial).
- Tele-photo Lenses are great to get tight shots of the face without distortion.
- And ofcourse the smart phones today have a mode for this – just turn on ‘Portrait Mode’ to blur the background.
Conclusion
Smart phones come with great cameras today and there are just so many and brilliant features on them that assists you to take great picture. But they can just assist you, the vision and creativity is all in your hands. So practice and get better – simple as that!
