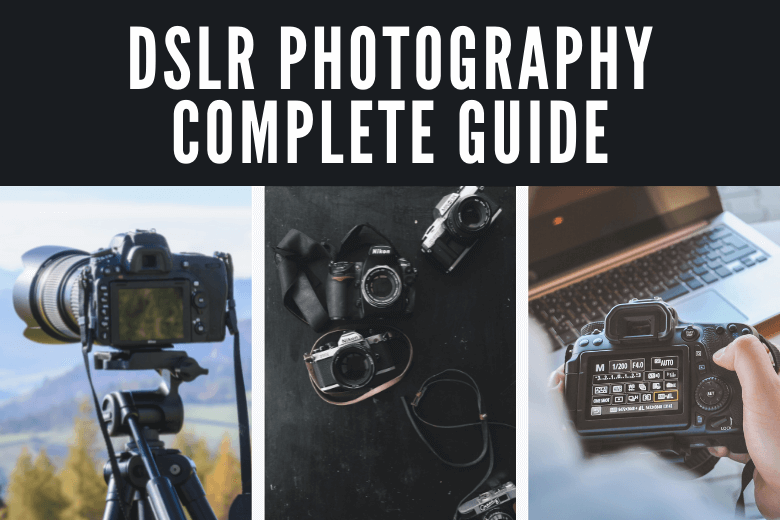
What is DSLR?
A digital single-lens reflex camera (DSLR) combines the optics and motors of a single-lens reflex camera with a digital imaging sensor. The major distinction between a DSLR and other digital cameras is the reflex design approach.
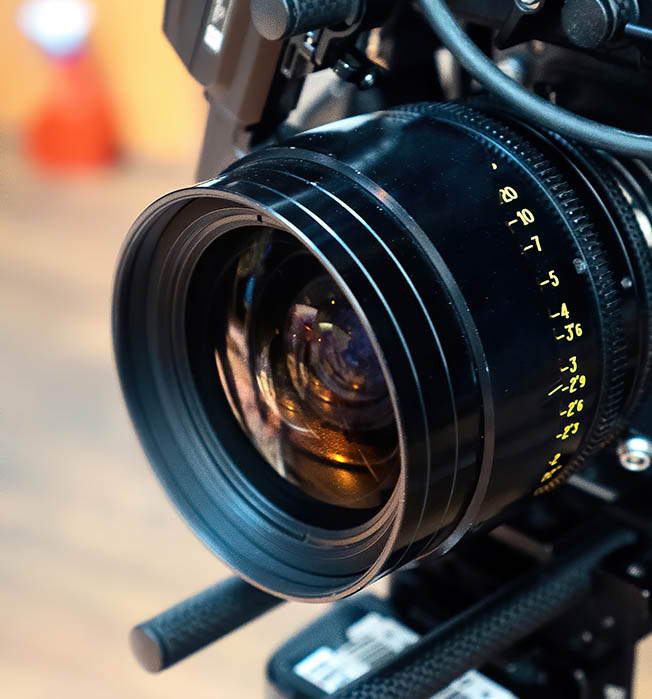
Main Components of DSLR
Digital cameras capture or record the qualities of light from a scene or subject to create photographs. The camera body, the camera shutter, the camera lens, the lens aperture, and the camera’s image sensor are the primary components involved in the process.
What is SLR?
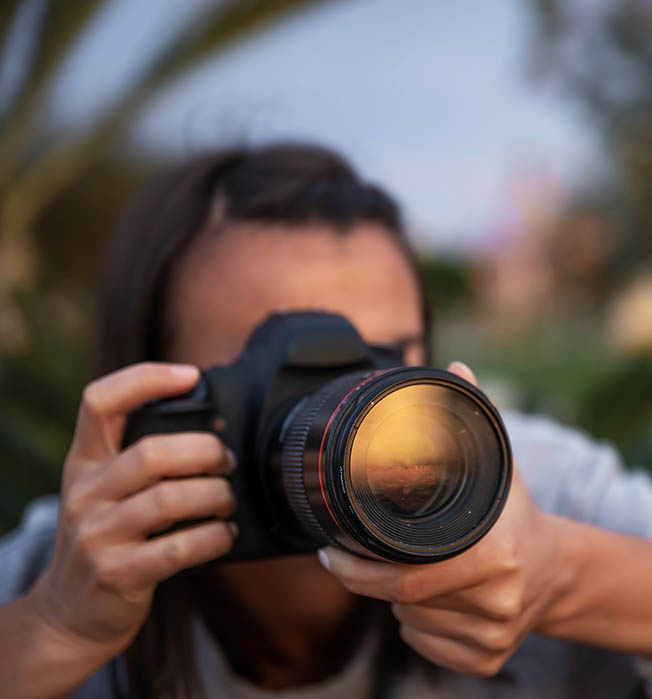
SLR cameras, or single-lens reflex cameras, are digital cameras with a mirror system. This allows you to look at the subject through your lens in a mirror. This feature is absent in mirrorless cameras, therefore you must rely on a digital image in the viewfinder or on the screen to see your subjects. By gazing directly into the lens while shooting, you can capture the subjects in a similar fashion. The interchangeable lens is another element of the SLR camera.
DSLR and SLR Comparison
SLR cameras enable professional photographers to swap lenses and select the best lens for the job. SLR cameras that take digital images are referred to as DSLRs, and the rare cameras that still use film are simply referred to as SLRs.
DSLR cameras are ideal for aspiring photographers since they provide real-time previews and do not waste film when mistakes are made. Because there are more DSLRs on the market, they are often less expensive. Film SLR cameras, on the other hand, provide significantly higher colour, tone, and contrast quality.
Sensor
A sensor is a solid-state device that catches light and converts it into a digital image. While the technique of making a sensor is outside the scope of this feature, wafers of silicon are used as the foundation for the integrated circuit, which is then built up using a technique known as photolithography. The circuitry patterns are repeatedly projected onto the (sensitised) wafer before being treated to remove all but the pattern. Surprisingly, this has a lot of similarities to classic photographic operations like developing film and printing it in a darkroom.
This process produces millions of small wells known as pixels, each of which contains a light-sensitive element that can detect the number of photons that have arrived at that specific position. Because the charge output from each area is proportional to the amount of light shining on it, it is feasible to recreate the image as the photographer observed it – but there are a few steps that must be completed first.
Because the sensor is analogue, the charge must first be transformed into a signal, which must then be amplified before being translated to digital form. So, though an image may finally appear as a collection of diverse objects and colours, each pixel is given a number so that it can be comprehended by a computer on a more basic level (if you zoom into any digital image far enough you will be able to see that each pixel is simply a single coloured square).
A sensor is not just an analogue instrument, but it is also colorblind. A mosaic of coloured filters is placed over the sensor to allow it to feel different colours, including twice as many green filters as each red and blue filter, to mirror the human visual system’s heightened sensitivity to the colour green. Because each pixel only receives colour information for red, green, or blue, the values for the other two colours must be estimated using a technique called as demosaicing. The Foveon sensor is an alternative to this technique, which uses layers of silicon to absorb different wavelengths, resulting in full colour information being received at each point.
Types of Sensor
1. CCD sensor
CCDs have long outperformed CMOS sensors in terms of image quality, dynamic range, and noise reduction. They have been used in video and stills cameras for many years.
They are still used in inexpensive compacts, but because to their higher power consumption and more basic construction, CMOS equivalents have mostly superseded them. However, they are still employed in medium format cameras where the advantages of CMOS technology aren’t as important.
2. CMOS sensor
Long seen as a poor substitute for CCD sensors, CMOS sensors have improved to the point that they now meet or exceed the CCD standard.
CMOS sensors, which have more functionality on-chip than CCDs, can work more effectively and use less power, making them more suited to high-speed capture.
As a result, they’re essential in cameras that rely heavily on burst shooting, like Canon’s 1D series of DSLR cameras.
3. Foveon X3 sensor
Sigma’s small cameras and DSLRs use Foveon X3 technology, which is based on CMOS technology.
The Foveon X3 system eliminates the Bayer filter array and replaces it with three layers of silicon.
Shorter wavelengths are absorbed closer to the surface, but longer wavelengths travel further.
No demosaicing is required because each photosite receives a value for each red, green, and blue colour.]
4. LiveMOS sensor
For the Four Thirds and Micro Four Thirds cameras, LiveMOS technology was utilised.
According to LiveMOS, the image quality of CCDs can be achieved with the power consumption of CMOS sensors.
Mirrorless vs Mirror DSLR:
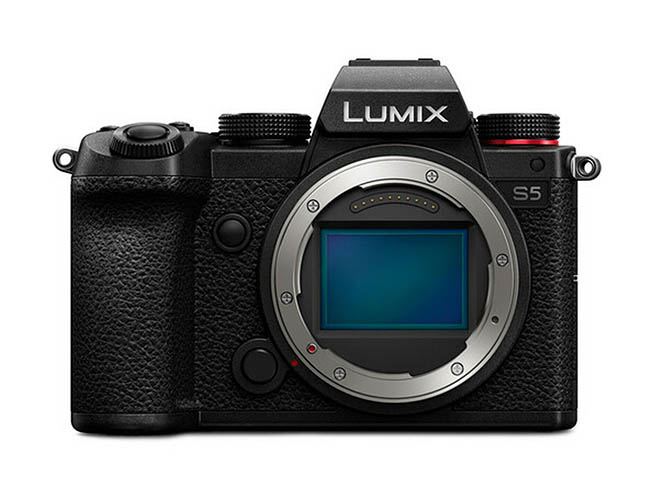
Both interchangeable lens cameras, the digital single-lens reflex (DSLR) and mirrorless (commonly referred to as compact system) cameras, provide features for more advanced photography. For each, there are a variety of models available, ranging from entry-level photography amateurs to pros. Both cameras have large sensors, which allow them to let in more light and record more detail than a regular digital camera. The way image previews are displayed is a significant distinction between the two: A reflex mirror is built into DSLR cameras, which bounces light up into the optical viewfinder. Light enters the image sensor directly with mirrorless cameras.
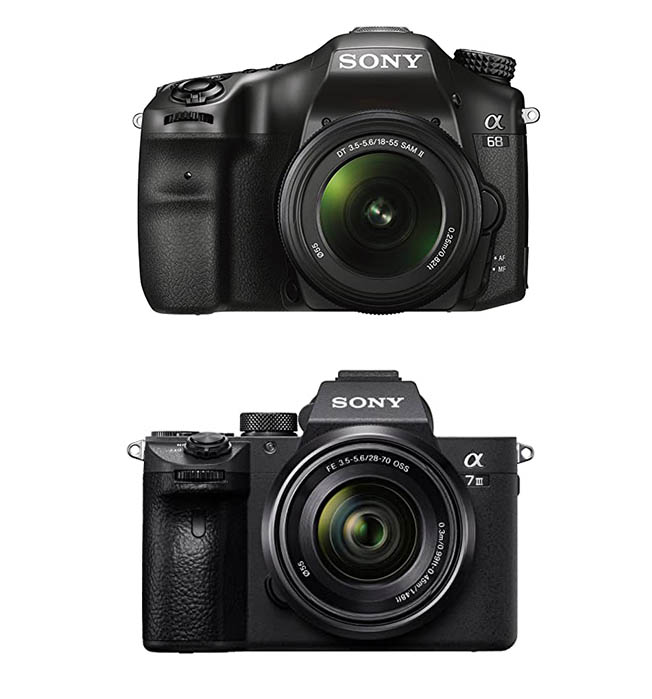
Mirrorless cameras have electronic viewfinders that offer the same preview of the image as the LCD screen. While what you see through an electronic viewfinder (or on an LCD screen) is extremely similar to what you see through an optical monitor, there are a few minor changes, which we go over in detail in our guide to optical vs electronic viewfinders.
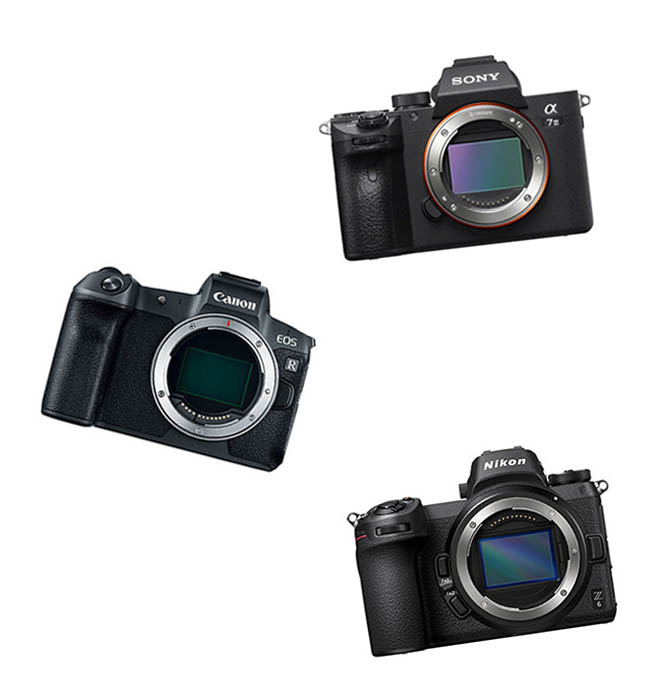
Canon Vs Sony Vs Nikon
A. Cost
When it comes to the most expensive brands, price often makes a difference. Canon is a little more expensive than Nikon, and Sony’s prices swing between the two. You may not want to invest the same amount in equipment as a professional if you are an amateur or hobbyist. Getting the “latest” system, such as mirrorless, is the same.
B. Mentoring
At the beginning of the article I mentioned that many of the people I admire shoot Canon. If you have someone who you admire who you want to learn from it’s a good idea to copy their brand choices. It will mean not having to search for the options you need when they explain and being able to follow directions much easier. This is a lot of help for beginners.
C. Comparison
Whatever brand you choose, there will always be equipment or things for the opposing side. That’s the way it works. If you’re a Nikon user, you’ll probably wish you had Canon tools, and vice versa. In the camp of the other brand, the grass is always greener. All of the brands have advantages – Nikon has less noise, Canon has more usable pixels, and so on. Unless you’re aiming for top-of-the-line equipment and a large expenditure, any change won’t make a significant difference.
Modes in DSLR
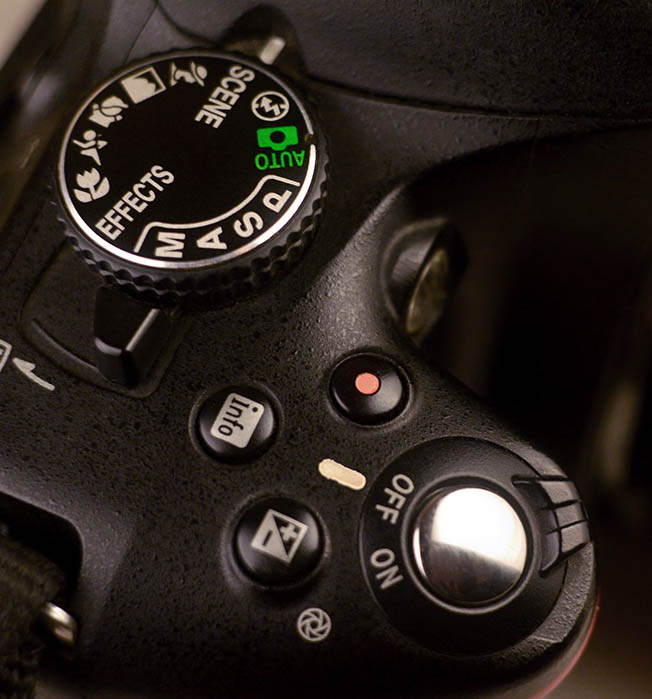
Auto Mode :
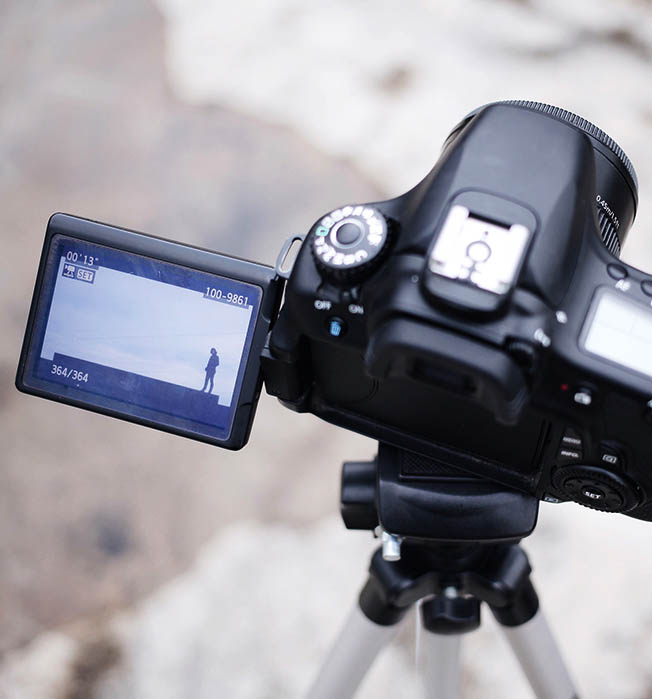
This is the mode in which the camera selects the best shutter speed, aperture, ISO, and flash settings for your shot automatically. There is no need to make any adjustments in this scenario; all you have to do is point and shoot. You can utilise this mode to capture some quick photographs if you’re new to DSLRs or have no idea what you’re doing.
Portrait Mode :

This option is useful when you want to retain the subject in the foreground of the frame and utilise a narrow depth of field to blur the background while keeping the subject in focus. This mode performs well in well-lit environments, and it will automatically add flash if the surroundings are dark.
Macro Mode:
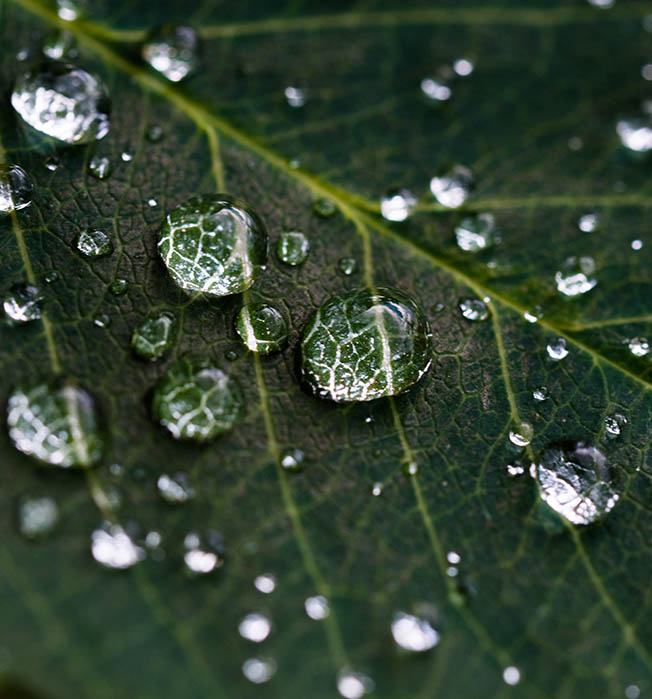
When you need to take a photograph of a small image, this mode comes in helpful. You will, however, need a separate Macro lens to achieve this photo perfectly. This setting will function best in bright light and will focus on the subject with a shallow depth of field.
Landscape Mode:
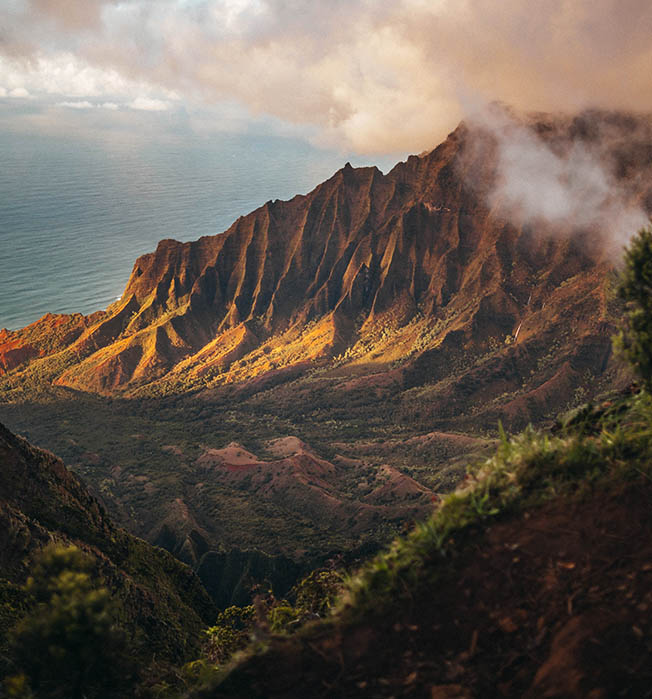
Unlike portrait mode, this mode creates a concentrated image from the foreground to the distance by using a tiny aperture. This mode is best used in daylight and requires a wide-angle lens to produce the best results.
Sports Mode:

This mode is meant to capture a subject that is always moving, as the name suggests. Cycling, football players, and a variety of other activities come to mind. A high shutter speed of at least 1/500 – 1/1000 of a second is required in this setting. This aids in accurately freezing movement without obscuring the subject. In this mode, you can also set the continuous shooting option to collect photographs in a row.
Shutter-Priority Mode:
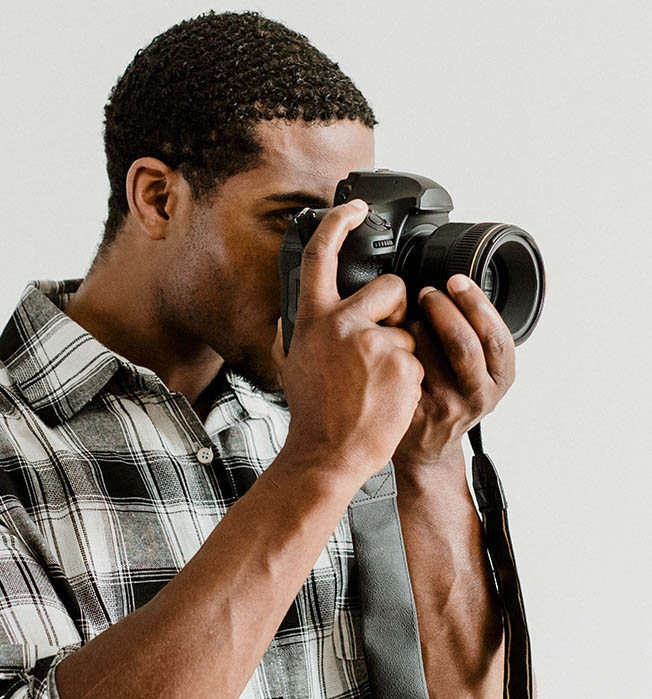
In this mode, a user will manually set the camera’s shutter speed and on the other hand, the camera automatically picks the right aperture based on the of light. This mode is used when you need to freeze motion. If there is too much light, the camera will increase the lens aperture to a higher number, which decreases the amount of light that passes through the lens and vice versa. Also, you won’t be having the control to a depth of field as well.
Aperture-Priority Mode:
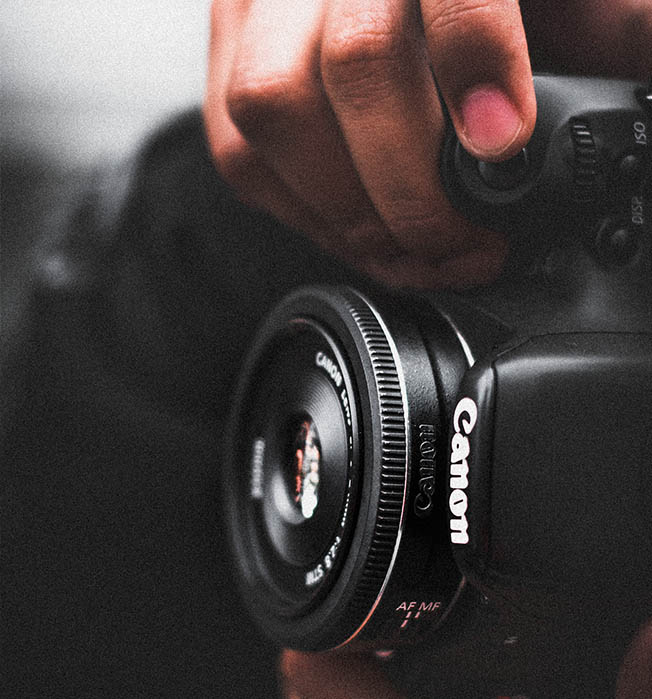
In this mode, the user sets the lens aperture manually while the camera selects the appropriate shutter speed automatically. You’ll have complete control over subject isolation and can experiment with depth of field. If there is too much light, the shutter speed will be automatically increased, and vice versa.
Manual:
You must manage every feature of the camera, including shutter speed, aperture, ISO, flash, focus, and everything else, as the name implies. As you use the system, this mode will assist you in learning more about it.
What is Exposure
The amount of light collected by your camera is easily stated as exposure in photography.
The amount of light that reaches the camera sensor after passing through the camera lens for a set amount of time determines the final appearance of the image.
The fundamental purpose of exposure in photography is to capture an image with a specific brightness. When you take a perfectly exposed photo, all of the details in the highlights and shadows are captured.

Underexposure is the exposure effect that occurs when the camera sensor does not get enough light. We can alternatively state that we obtained “crushed shadows” or “crushed blacks,” implying that there is no information in the image’s darkest portions.
Overexposure, on the other hand, is the exposure effect that occurs when the sensor captures too much light. When this happens, we call it “blown out highlights” or “burned out highlights,” and the effect is that the image’s brightest portions are devoid of information.
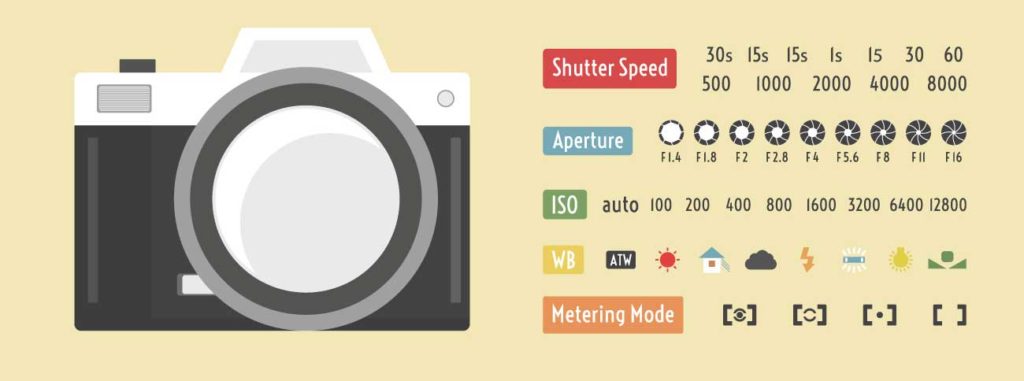
Aperture
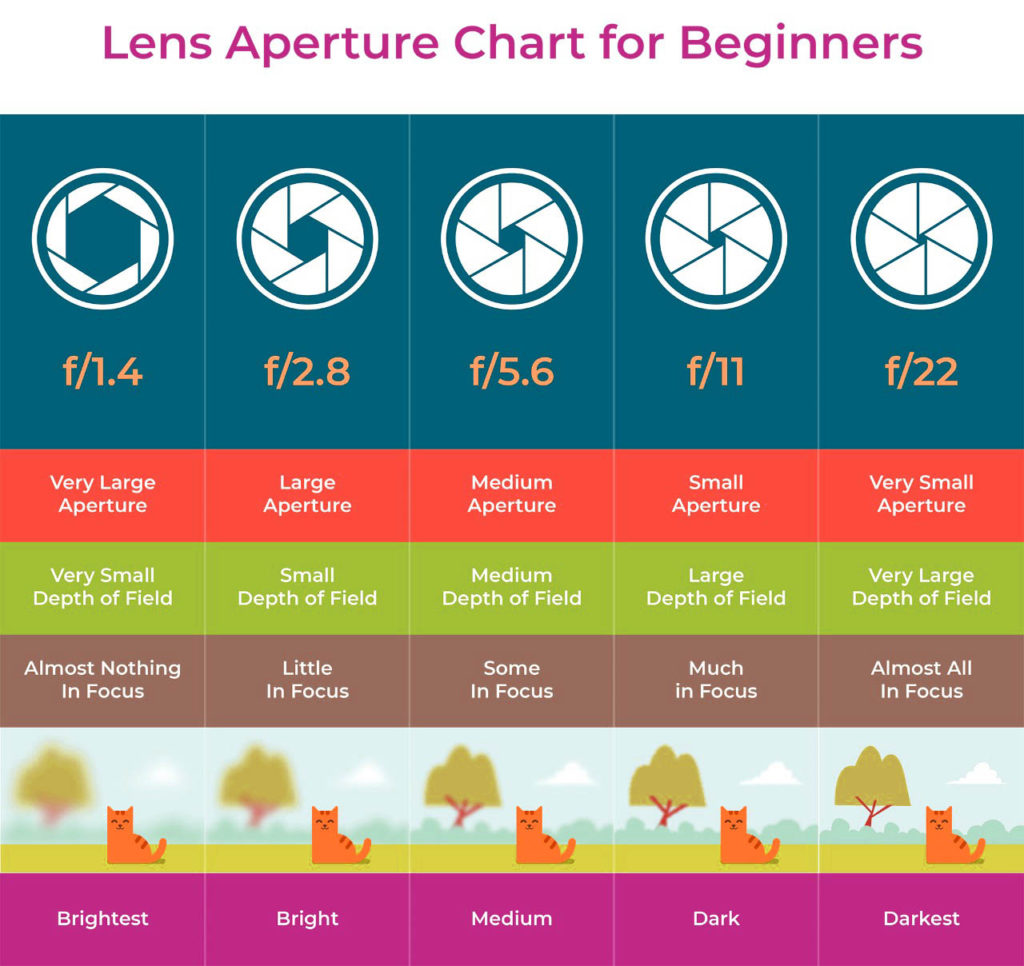
The opening of a lens through which light flows to enter the camera is known as the aperture. If you think about how your eyes operate, it’s a simple notion to grasp. The iris in your eyes grows or contracts when you move between bright and dark settings, affecting the size of your pupil.
The aperture is the “pupil” of your lens in photography. To allow more or less light to reach your camera sensor, you can reduce or increase the aperture size. An aperture in a lens is depicted in the image below:
How it is Used
The human experience is incomplete without the presence of light.It’s no surprise, then, that we’ve come up with clever ways to create, manipulate, and capture light.One method we can record light is through cameras.
Many of the concepts for measuring light levels and producing photographs are the same whether we use a high-end professional camera or a cell phone.Aperture is one of the most crucial factors.
Aperture refers to the size of the hole that allows light into a device in consumer optical equipment, most often cameras.Mechanical diaphragms are used in cameras to control how much light enters the camera body and reaches the image sensor or film.That diaphragm functions similarly to the irises in your eyes, contracting or expanding depending on the amount of light required.The diameter of the opening is referred to as the aperture.It’s like your eyes’ dark, black pupils, the actual aperture through which light passes.
When it comes to aperture rules, cameras are by far the most frequent instrument that most of us use.Other examples, such as microscopes and lasers, are equally reliant on aperture diameter.Telescopes and aperture principles are also inextricably linked.Later, we’ll show you how a larger aperture can help your telescope make Jupiter look more like Jupiter rather than a hazy Saturn.
Continue reading to learn more about how crucial the subject of a simple opening — aperture — is to photography and our vast world of optical instruments.
Depth of Field :
The range of distances from the camera within which photographed objects appear acceptable crisp is referred to as “depth of field.”
In severe cases of shallow depth of field, the depth of in-focus could be as little as a few millimetres.Some landscape shots, on the other hand, have a very shallow depth of field, with everything in fine focus from right in front of the camera to many kilometres distant.One of the most essential strategies for artistic photography is controlling depth of field.
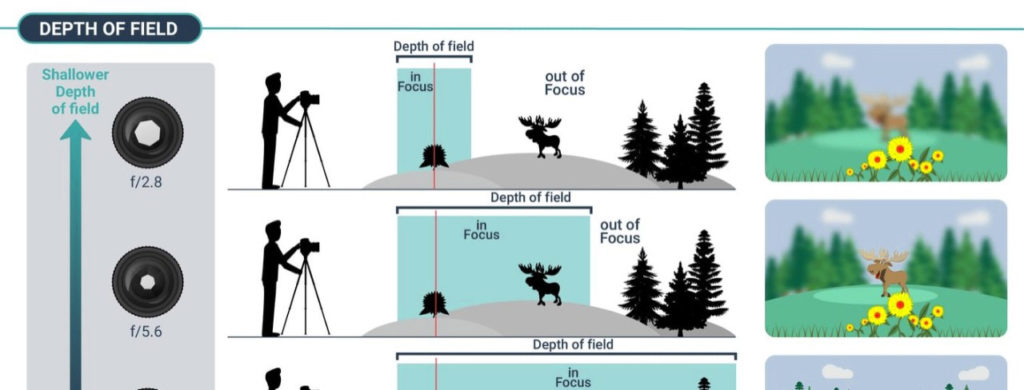
Larger apertures result in a shallower depth of field.You should open up the aperture wide if you want to photograph a portrait with a nicely defocused background.Other elements, though, come into play as well.Longer focal length lenses can produce narrower depth of field (partly because, as we learned above, an F1.4 aperture in an 85 mm lens is much larger than an F1.4 aperture in a wide-angle 24 mm lens), and the distance between objects in the scene being photographed can also affect the perceived depth of field.
Aperture affecting depth of field :
Depth of field is another important aspect of aperture.The amount of your shot that appears sharp from front to back is known as depth of field.The background in some photos has a “thin” or “shallow” depth of field, meaning it is completely out of focus.Other photos have a “large” or “deep” depth of field, which means the foreground and background are both sharp.
The girl is in focus and appears sharp in the photograph above, while the surroundings is entirely out of focus.The aperture choice was crucial in this case.In order to achieve a shallow focus impression, I used a big aperture.
This allowed me to focus the viewer’s attention on the subject rather than the crowded background.I would not have been able to effectively differentiate my subject from the background if I had used a much lower aperture.
One way to remember this relationship is that a large aperture causes a lot of blur in both the foreground and the background.This is useful for portraits or general shots of objects where the subject needs to be isolated.You can sometimes frame your topic using foreground objects that appear blurry in comparison to the subject.
Shutter speed
A photograph is created by exposing a digital sensor (or a strip of film) to light.When you’re not taking a picture, the shutter simply acts as a barrier to keep light out.The shutter is opened by pressing the shutter release button on the top of the camera, and when the shutter is open, an image is recorded.The camera stops recording as the shutter closes.

The shutter speed is the length of time that the barrier remains open to allow light enter the photograph.
The length of time an image is exposed to light is called shutter speed, and it can range from milliseconds to minutes.
Understanding shutter speed, one of three factors that impact how light or dark an image is (called exposure), is critical to exerting full creative control of the camera.The lens will allow in a lot of light if the shutter is left open for a long period, and unless you’re photographing a really dark situation, the image will be overly bright, or overexposed.On the other hand, if the shutter speed is too fast, the shot will be excessively black.
How it is Used
In addition to affecting exposure, shutter speed alters the appearance of movement in pictures.Fast-moving subjects can be frozen with very low shutter speeds, such as at athletic events.To create an effect, very lengthy shutter speeds are utilised to blur a moving scene.
Types of Shutter Speed :
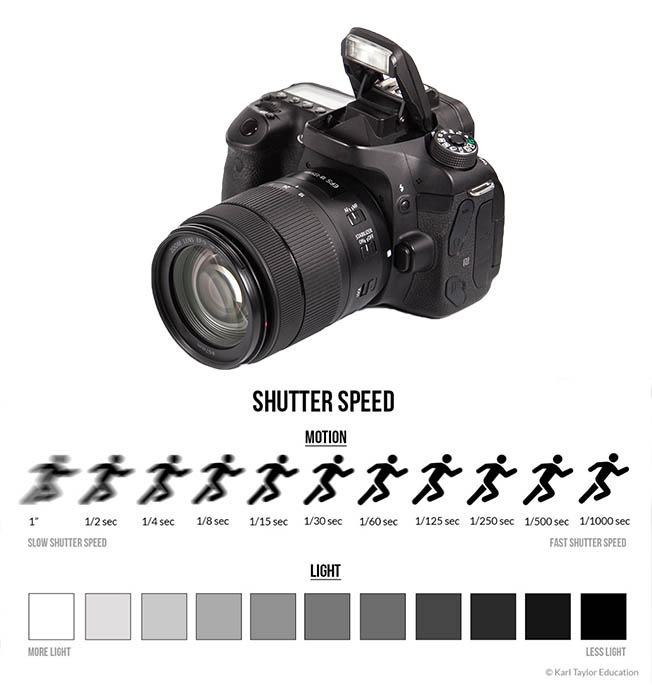
Slow Shutter Speed
Slow shutter speeds are also utilised with a tripod to shoot the Milky Way or other things at night or in weak light.
Long shutter speeds are used by landscape photographers to give a sense of motion on rivers and waterfalls while keeping everything else sharp.
Fast Shutter Speed
When it comes to freezing action, a quick shutter speed is usually required.If you’re photographing birds, this may be as rapid as 1/1000th second.However, you may be able to shoot images at 1/200th second, 1/100th second, or even longer without producing motion blur when photographing slower-moving subjects in general.
ISO
ISO is a camera setting that brightens or darkens a photo in the most basic sense.Your images will get increasingly brighter as you increase the ISO setting.As a result, ISO can assist you in capturing photographs in low-light situations or allowing you to be more flexible with your aperture and shutter speed settings.
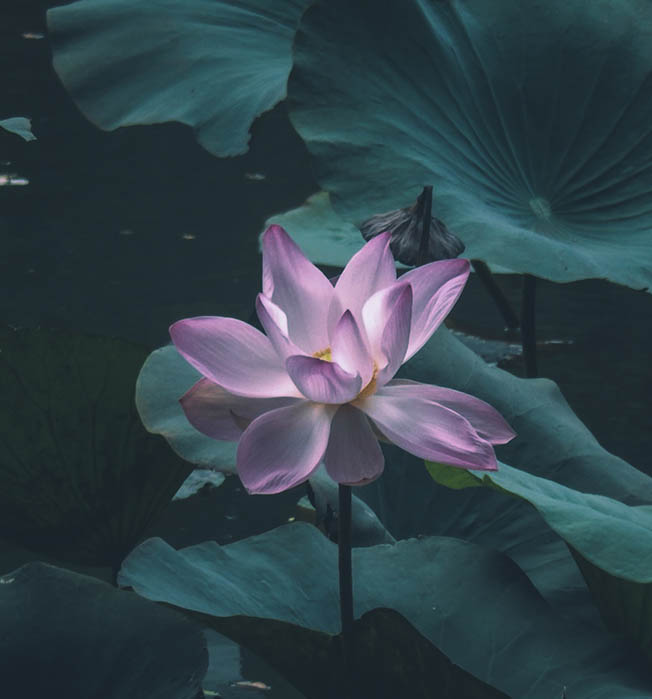
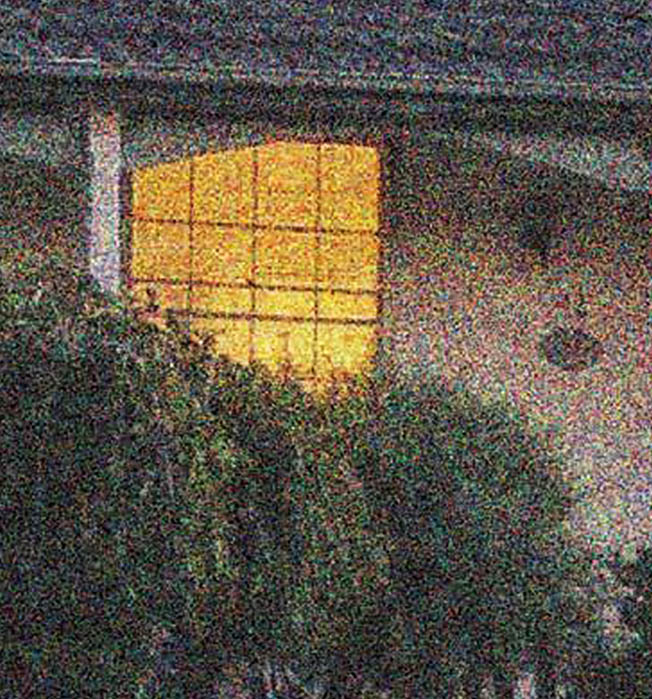
However, increasing your ISO has drawbacks.A photograph taken with a high ISO will have a lot of grain, also known as noise, and may be unusable.As a result, increasing the ISO to brighten a photo is always a trade-off.Only increase the ISO if you are unable to brighten the image using the shutter speed or aperture (for example, if using a longer shutter speed would cause your subject to be blurry).
What is ISO in photography
ISO is a critical number that influences the brightness of your photograph.It’s beneficial since it allows photographers another way to tweak their exposures.The International Standards Organization, which established this standard in 1988, gave it its name.
In film and digital cameras, ISO works in slightly different ways.We’ll talk about ISO with digital cameras in this first, longer section of the post.
When compared to shutter speed and aperture, ISO has no effect on the amount of light entering the camera when brightening or darkening the image.Rather, it governs how the camera reacts to the quantity of light that has already been set after the exposure has been completed.
As a result, ISO is used to describe the sensitivity of a sensor or film.
As a result, it isn’t technically a part of exposure.In all practical contexts, however, we should accept it as such.
What ISO Stands for
SO stands for the International Organization for Standardization — an organization that sets international standards for all different kinds of measurements. But, when in reference to your camera, the ISO is your camera’s sensitivity to light. ISO is displayed in a number like this: 100, 200, or 400. Essentially, when you adjust your ISO, you’re changing your camera’s sensitivity to light (i.e., you brighten or darken your image).
How ISO works
As we increase ISO, the quantity of grains or noise in our images increases, thus when deciding what ISO to shoot at, you should ask yourself three fundamental questions.
1. Whether you’re shooting in a brightly lit room or a dimly lit room.For example, if you’re shooting it outdoors, whether you’re shooting during the day, after sunset, or at night, or if you’re shooting it indoors, whether the light sources you’re using are properly exposed or it’s a dark situation, the first question you should ask is whether the light is very good or if the light is getting darker. If the light is very good, keep the ISO as low as possible; if the light is getting darker, start increasing your ISO.
2. The second question to ask yourself is if you’re using a tripod. If you’re using a tripod, you’ll be able to shoot at shorter shutter speeds, which will allow you to reduce your ISO and produce a better image.
3. The third thing you should consider is whether you want to freeze or not freeze the action.
So, if you’re shooting in low light and still want to freeze motion, you have no choice but to increase the ISO. Of course, increasing ISO will degrade your image quality, but that doesn’t mean you shouldn’t use it in situations where you don’t have the option of increasing your aperture, shutter speed, or experimenting with light sources.
Thus, if you don’t have any other alternative, you should boost ISO, so getting an image with more greens is ok, but getting a darker image and then post-processing it and then making it bright will just make it worse.
What is Color Noise :
The concept of the colours of noise employs the concept of colour to describe various frequencies of noise, beginning with white noise, which most people interpret as a blanket of sound that drowns out all other sounds, much like white light mixes and so drowns out all other hues of light.So, what are the different shades of noise?
What Is White Noise?
True white noise is a mix of all the frequencies humans can hear, ranging from 20 Hz to 20,000 Hz, all at the same time and at equal amplitude.When nothing is broadcasting, the consequence is a sound similar to static from an old television or radio.White noise tends to drown out any other sounds in its passage because it covers all frequencies.If you just want to block out an obnoxious sound, white noise will suffice.
What Is Pink Noise?
Colors other than white noise are similar to white noise but have more intensity at one end or the other of the sound spectrum.If you listen to a “white noise” machine, you’re probably listening to pink noise, which accomplishes the same goal of drowning out all other sounds while being less abrasive than white noise.It sounds like a strong rainstorm or static with an added bass rumble.Pink noise has been found to be useful in assisting people in achieving deeper sleep in at least one research.
What Is Brown Noise?
Brown noise is comparable to pink noise, however it isn’t really a noise “colour.”Brown noise is short for Brownian noise, because its signal mimics Brownian motion, which is a pattern of random movement of particles in a liquid.It’s a richer sound, more akin to ocean waves.Brown noise has proven to be effective in aiding concentration for many people.
What Is Blue Noise?
Blue noise is the polar opposite of Brown noise in that its energy is focused at the high end of the spectrum, meaning there is no bass.A hissing water spray is an example.When it comes to sound engineering, blue noise is most typically used to reduce distortions.
What Is Gray Noise?
Gray noise is similar to pink noise, but each listener hears it differently.It’s used by ear experts to treat tinnitus and hyperacusis.
What Is Black Noise?
Black noise is the absence of sound, with zero power at all frequencies, much as black is the absence of light.
The colour black is thought to represent the colour of quiet.
Relationship between ISO Aperture and Shutter Speed
Shutter speed, Aperture, ISO
Aperture and shutter speed are two variables that govern the amount of light that enters the camera and reaches the image sensor.
The ISO determines how much light is required to achieve a proper exposure.
Aperture
The lens aperture is a diaphragm located within or directly behind the lens.
It controls how much light gets through the lens and is usually made up of a series of blades that open or close depending on the aperture setting.
The aperture settings are known as f-stops, and they have a number sequence, such as F5.6, F7.1, F8, F11, and so on.
Lower f-stops (such as F5.6) have a bigger diaphragm opening, which allows more light to pass through the lens.
Higher f-stop settings (such as F11), on the other hand, have a narrower diaphragm aperture, allowing less light past the lens.
Shutter Speed
By adjusting how long the camera shutter remains open, shutter speed can also impact the amount of light that enters the camera.
Slower shutter speeds (such as 1/60) allow more light to reach the camera by leaving the shutter open for longer periods of time.
Less light is let inside the camera when the shutter is left open for a shorter period of time; this is accomplished by utilising faster shutter speeds (such as 1/250 or even quicker).
The duration of shutter speeds can range from fractions of a second to many seconds
ISO
By adjusting how long the camera shutter remains open, shutter speed can also influence the amount of light that enters the camera.
Slower shutter speeds (such as 1/60) enable more light into the camera by leaving the shutter open for longer periods of time.
Faster shutter speeds (such as 1/250 or even faster) allow less light into the camera when the shutter is left open for a shorter period of time.
The duration of shutter speeds ranges from fractions of a second to many seconds.
Types of Lenses
There are two types of camera lenses: prime and zoom.
- Prime lenses. Because prime lenses have a fixed focal length, they are faster and sharper. While prime lenses are less adaptable because of their fixed focal length, they are also quick and light, making them convenient to travel with.
- Zoom lenses. Zooms use a set of lenses to provide many focus lengths from a single lens, making them more versatile yet slower. They have more glass, which helps them be more flexible, but they are also larger and heavier than prime lenses.
Within both prime and zoom types of lenses, there are a variety of lenses, all with different focal lengths.
1. Macro Lenses
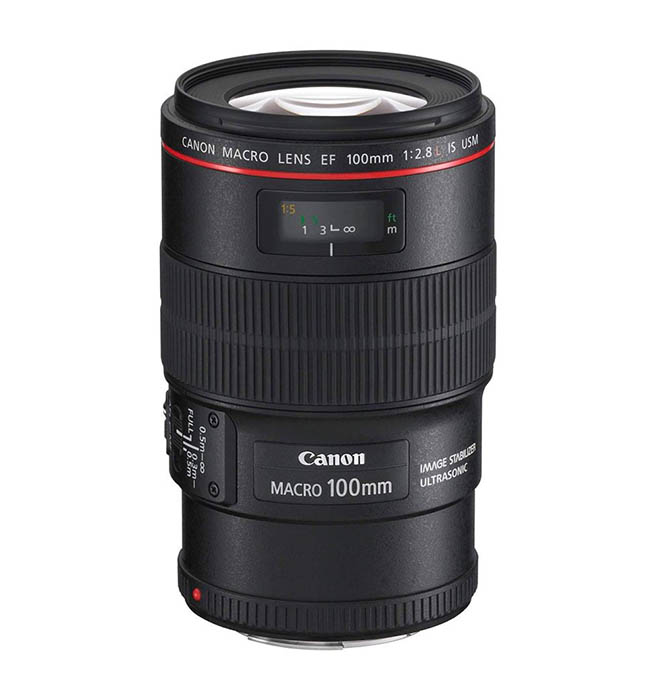
This camera lens is used to take macro photos that are very close up. They have a one-of-a-kind design that enables them to produce crisp images at close range. These lenses are ideal for wildlife photography since they allow you to capture a lot of detail in a single shot.
2. Telephoto Lenses
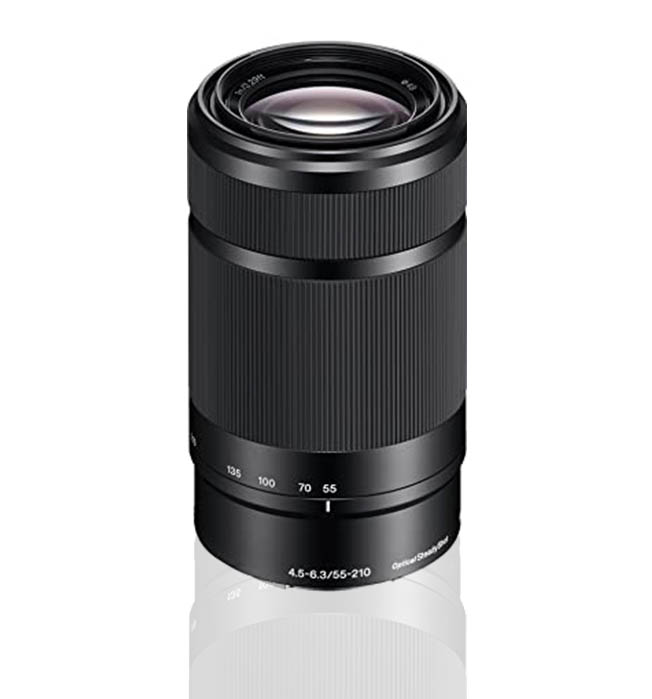
Telephoto lenses have several focal points and are a form of zoom lens. These kind of lenses are ideal for isolating a distant subject. Such high magnification, however, comes at the cost of a restricted field of view. A telephoto lens is used to concentrate in on distant objects in the same way that a telescope is used to look at stars and planets. While standing on the sidelines or in the bleachers, many sports photographers utilise telephoto lenses to create a sense of intimacy with the subjects on the field (the players). There are many various types of telephoto lenses, and some of them may be rather enormous, heavy, and expensive, so take your time when selecting one.
3. Wide Angle Lenses
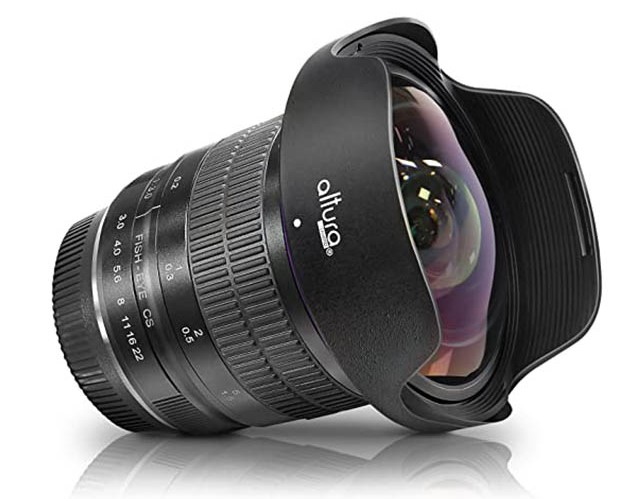
Wide angle lenses are great for cramming a lot of information into a small space. This is very beneficial for photographing landscapes or street scenes. Unless your subject is very near to the lens, practically everything is in focus with wide angle lenses.
4. Standard Lenses
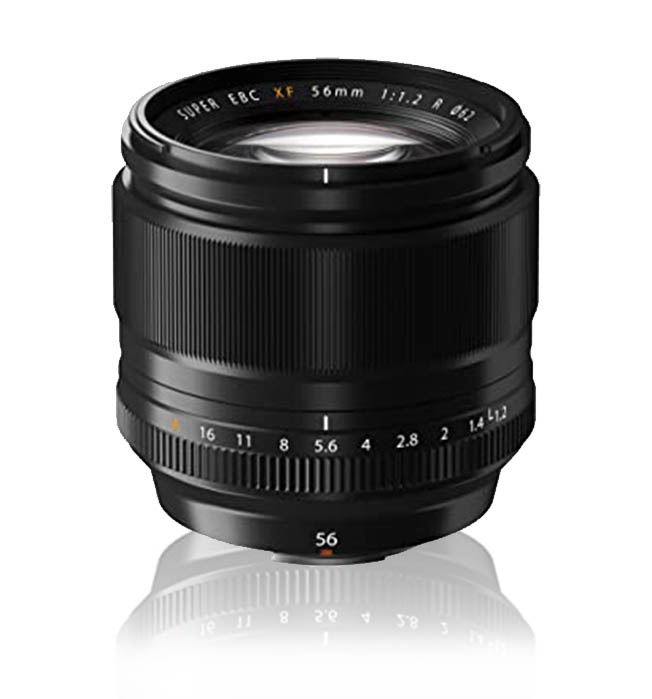
Standard lenses can be utilised for a wide range of photographic applications. Their focal lengths are usually in the middle, ranging from 35mm to 85mm. A zoom lens in this range will have a short enough focal length at the bottom end to take a full-frame photo with a wider angle, and a large enough focal length at the top end to zoom in on things.
5. Specialty Lenses
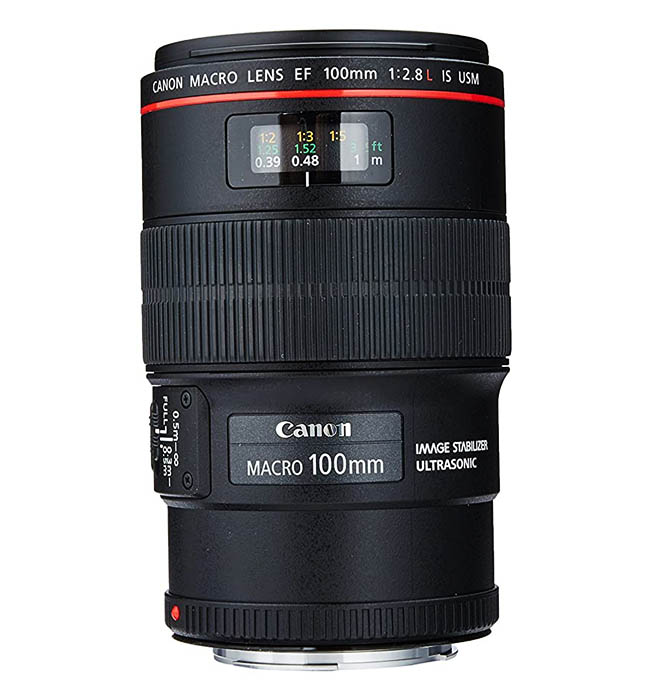
Finally, there are some more specialty camera lenses that can give your photos a distinct style and feel. There are many different types of speciality camera lenses, but here are a handful of the most common ones:
- Fisheye lens. A fisheye lens is an ultra-wide-angle lens that can capture a complete 180 degrees of the surrounding area. Fisheye lenses get their name from the fact that they distort the field of view of an image, making even a room in a house look like a bubble.
- Tilt shift lens. A tilt shift lens distorts perspective, making objects appear smaller than they are—almost toy-like.
- Infrared lens.These glasses use light rather than perspective to create a distinctive visual appearance, filtering out all light waves except infrared.
Lenses: Prime vs Zoom/Telephoto lens
A prime lens (sometimes known as a “fixed lens”) is a lens that has a fixed focal length. This means that such a lens has a fixed angle of view that cannot be altered – you can’t make the image appear larger or smaller within the frame until you move. Physically approaching your subject and making it fill more of the frame is the only way to enlarge it and make it fill more of the frame. As a result, taking a step back is the only option to fit more into the frame.
A prime lens has a single focal length, such as 50mm. From fisheye to super-telephoto, they come in a variety of sizes and focal lengths. Nikon 50mm f/1.8G, Canon 800mm f/5.6L IS, and Sigma 35mm f/1.4 are examples of prime lenses.
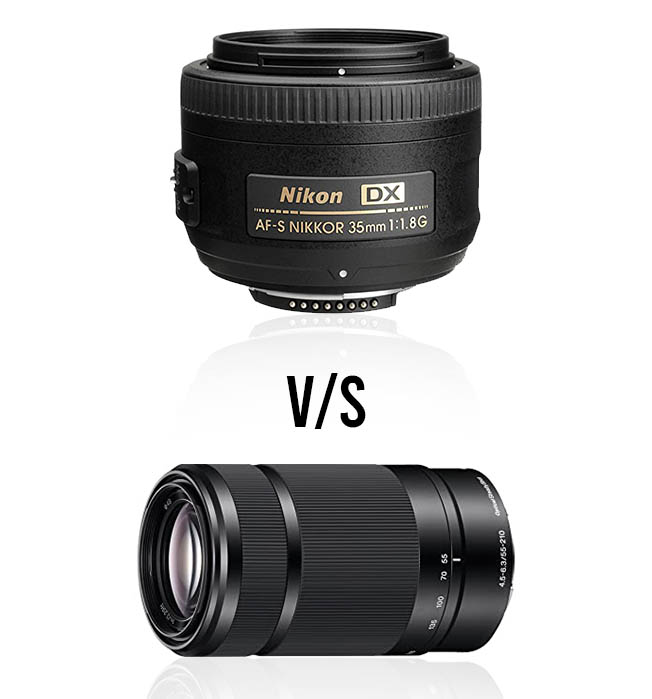
The focal length of a zoom lens, on the other hand, is variable. By spinning the zoom ring, you can change the angle of view by moving optical parts inside the lens. This implies that by turning the zoom ring in one direction, you may make objects appear larger, or by turning it in the opposite direction, you can fit more objects into the frame.
The two extremes of the zoom range, for example, 70-200mm, are represented by two specs on zoom lenses. A lens of this type can be used as a 70mm focal length lens, a 200mm focal length lens, or anything in between. Furthermore, zoom lenses may have variable aperture ranges. On many consumer zoom lenses, you’ll notice something like f/3.5-5.6, which denotes the lens’ maximum aperture at various focal lengths. A lens like the Nikon 18-55mm f/3.5-5.6, for example, will have a maximum aperture of f/3.5 at the smallest focal length of 18mm and f/5.6 at the greatest focal length of 55mm.
Most professional-level zoom lenses, on the other hand, will have a single maximum aperture throughout the zoom range. Nikon 18-200mm f/3.5-5.6G VR II, Canon 16-35mm f/2.8L II, and Sigma 70-200mm f/2.8 are examples of zoom lenses.
Fixed Focal Length and variable focal length –
(a) A fixed focal length lens is exactly what it sounds like: a lens that can’t adjust its focal length. The focal length of a variable focal length lens can be changed by changing the relative positions of the optical elements inside it. Variable focal length lenses allow the photographer to change the framing of the subject without physically moving closer or farther away, and they also allow the photographer to switch between a wide field of view (short focal length) and a narrow field of view (long focal length) without changing the lens.
(b) It’s impossible to say that fixed focal length lenses are superior to variable focal length lenses as a group. In truth, a zoom lens is clearly better when the capacity to adjust the field of view without changing lenses is crucial (for example, on vacation, when carrying numerous lenses is not desirable). However, you will be able to find a fixed focal length lens that is better (wider aperture, less aberrations, higher clarity) than any (or most) zoom lenses at any (or most) given focal length.
Let’s imagine the image I wish to capture is within the field of view of my camera’s 35 mm lens. I can reach that focal length with either an 18-250mm zoom or a fixed 35mm lens; the zoom will not allow an aperture wider than f/4, will have some (perhaps minor) chromatic aberrations, and will not be as sharp as a fixed 35mm lens. Fixed 35mm lenses allow for f/1.8 apertures, have fewer aberrations, and are sharper. This is because it’s easier to widen the aperture, correct aberrations, and improve sharpness with a constant focal length.
What is SNR
The signal-to-noise ratio (SNR) is a metric that compares the strength of a desired signal to the strength of background noise.The signal-to-noise ratio (SNR) is frequently given in decibels and is defined as the ratio of signal power to noise power.A signal-to-noise ratio larger than 1:1 (more than 0 dB) shows that there is more signal than noise.
* A sensor’s ISO performance is heavily influenced by its SNR values, with sensors that produce a high SNR value being considered superior.
* Saturating the pixels of a sensor with information, i.e. exposing to the right, might result in a high SNR.
* A photographer ensures maximum information is collected by exposing to the right (side of the histogram) without clipping highlights, resulting in cleaner photographs at relatively higher ISO values.
* After that, the photos are post-processed to get the correct exposure, allowing the sensor to operate better at higher ISOs.
